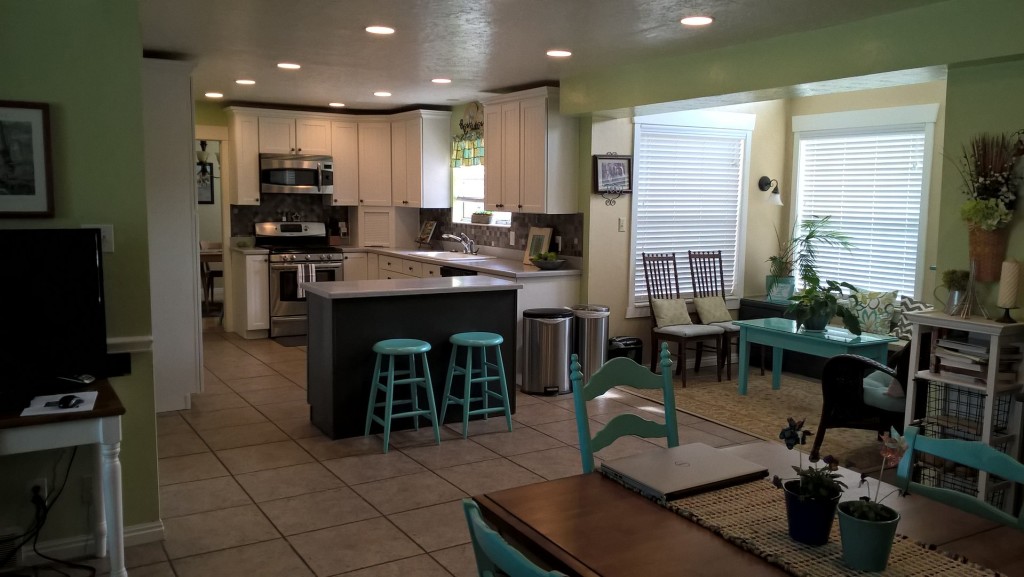
I love white cupboards, and I wanted to update my kitchen, but, lets face it, I didn't want to spend the money to replace them and go through the hassle of having my kitchen torn up for weeks - or months. I decided to paint them instead. It was hard work, but definitely worth it. I love how it turned out.
I am not an expert, but I have had a lot of people ask how I did it, so I decided to post my process. I hope you find this helpful, however, if you decide to paint your cabinets, it is always advisable to seek a professional's advice on your particular cabinets.
Supplies:
Screwdriver (a cordless drill or screwdriver is best)
Cabinet cleaner (see recipe)
Bucket
Gloves
Sponge
Rags
Putty knife
Wood filler or Spackle
120-22- grit sandpaper
Tack cloth
Painter's tape
Drop cloths
Primer
Paint
Paintbrush (I prefer 2 inch tapered good quality brush)
Foam cabinet rollers
Paint tray and stir sticks
Cans, saws horses, or painter's triangles to get cabinet doors off the floor while you paint.
1: Purchase supplies.
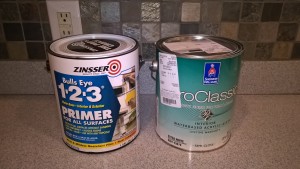
 Primer: I used Zinsser 123 Primer. However, after I painted my cupboards, I painted the cupboards in one of our rental houses, and I used the Zinsser 123 Primer Plus. I liked the Primer Plus much better. It had better coverage.
Paint: I chose Sherwin Williams ProClassic interior water based acrylic-alcyd. Color: Alabaster
I liked the color Alabaster because it was a slightly warm white, but it still looked white, not cream colored.
I chose the acrylic-alcyd paint because I talked to one of the employees of Sherwin Williams, and he recommended it because it goes on like a water based paint, and cleans us like a water based paint, but after the paint cures for about a week, the finish holds up like an oil based paint. However it is very thin, and after painting my first coat, I decided to do a second coat with a paint with primer latex version of the same color to get better coverage, then I did a third coat of the acrylic-alcyd paint for the hard finish. I talked to the pro to make sure the paints were compatible.
2: Clean Cabinets
It is important to clean the grease and grime off your cabinets so your sandpaper doesn't get all gummed up when you sand. I used the cabinet cleaner below, and it worked great.
Cabinet Cleaner
2 Tbsp Dawn dish soap
2 cups hot water
1 cup distilled vinegar
1/2 cup Borax
Stir the mixture until Borax is dissolved. It is important to use hot water.
With rubber gloves and a rag, wash the cabinets and drawers well with the cleaner. I needed to use a razor blade to scrape the grease off the bottom of my cabinet over the stove. Next, wash the cabinets again with clean water, then wipe with dry towel.
When the cabinets are clean and dry, you can use a putty knife and wood filler to fill any nicks in cabinet.
3: Make Map
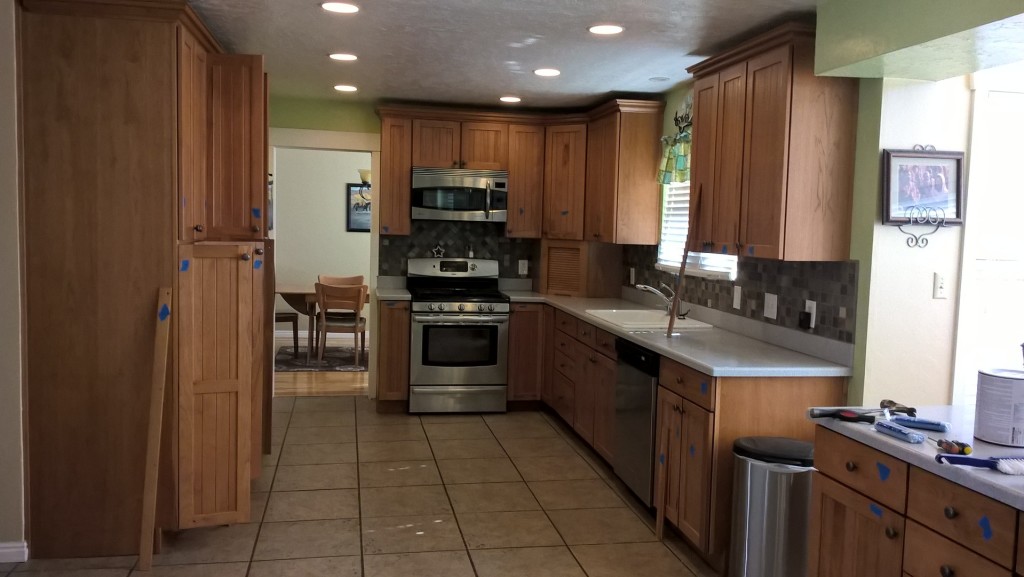
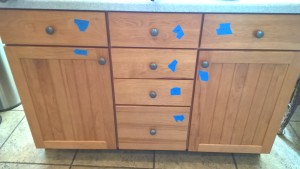 I drew out a map numbering my kitchen cabinet doors and drawers. I started from the top left and worked my way around the kitchen. I painted my island grey, so I put an "i" next to the numbers of the island drawers and doors so when I was painting, I knew to paint those grey instead of white. Next I took blue painter's tape and put corresponding numbers on the cabinet doors and drawers to match the map.
4: Remove Doors and Hardware
Using a screwdriver, I took off all the cabinet doors and drawer fronts.
It is best if you can remove all the hinges. Some of mine were glued on the doors, so I had to paint around them.
Remove all the knobs. Put the screws back in the knobs, and put in a box so they don't get misplaced.
5: Protect Surfaces
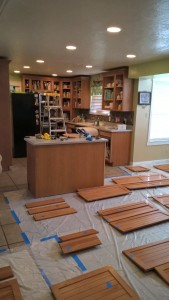
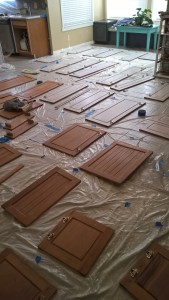 It is best not to paint outside to minimize dust and debris settling on your doors. If you have a garage, you can paint them there, however, I painted my cabinets the first of March, and it was too cold, so I moved my furniture out of the way and painted them on my kitchen floor. I put down heavy plastic or canvas drop cloths. I laid out the doors on the drop cloths, then I peeled off the painter's tape with the number on it and put it on the plastic next to the door or drawer front.
I pulled my fridge and stove out from the wall, and I used painter's tape to protect the wall and back splash tile from paint drips. I also covered my counters with plastic drop cloths.
6: Sand Cabinets
I took each door outside and used an electric sander to sand the shiny finish off. It isn't necessary to sand down to bare wood. Then I wiped down the doors with a wet rag or sponge to get all the sawdust off. Make sure you wear protective eye wear and a dust mask.
I took the doors out one at a time to make sure it got back to the right place next to it's number.
I thought this would be a quick process, but I had a lot of grooves that I had to sand by hand, and there were a lot of doors. I think this was a full 8 hour day of just sanding and washing.
7: Prime Cabinets
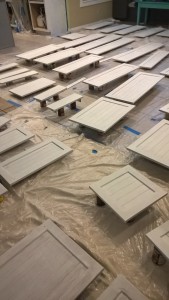 I used cans to put doors on to get them off the floor so I could paint the sides. With a foam roller and angled paint brush I primed the cabinets. I started with the doors and drawer fronts so they could dry while I painted the cabinet boxes, then I turned the doors and drawer fronts over and painted the other side and sides of doors and drawer fronts. The primer I used was Zinsser 123. It was quite thin and I had to do a second coat. I would recommend the Zinsser 123 plus. It has better coverage.
8: Paint Cabinets
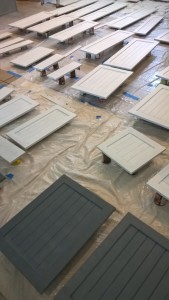 Stir the paint with a paint stick, then pour into a paint tray. Load a roller or brush with paint. Start with the cabinet doors and drawer fronts so they have time to dry before turning over to paint the other side. Next paint the cabinet boxes then the opposite side of the doors and drawer fronts. After the paint has dried completely, lightly sand with a fine grit sandpaper, then wipe down cabinets with a tack cloth. Paint a second coat. The acrylic-akyd paint was very thin. I didn't want to do a ton of coats, so I went back to Sherwin Williams, and they gave me a paint and primer mix in the same color. I painted a second coat with that, then I did a third coat with the acrylic-akyd paint to give it a hard finish. I found that there were some dust flecks that settled on the cabinet doors while drying, so after I hung all the cabinet doors, I lightly sanded the fronts of the doors and drawer fronts, wiped them down with a tack cloth, then painted a fourth coat of the acrylic-akyd paint just on the outside of the doors and drawer fronts.
9: Hang doors, and replace hardware
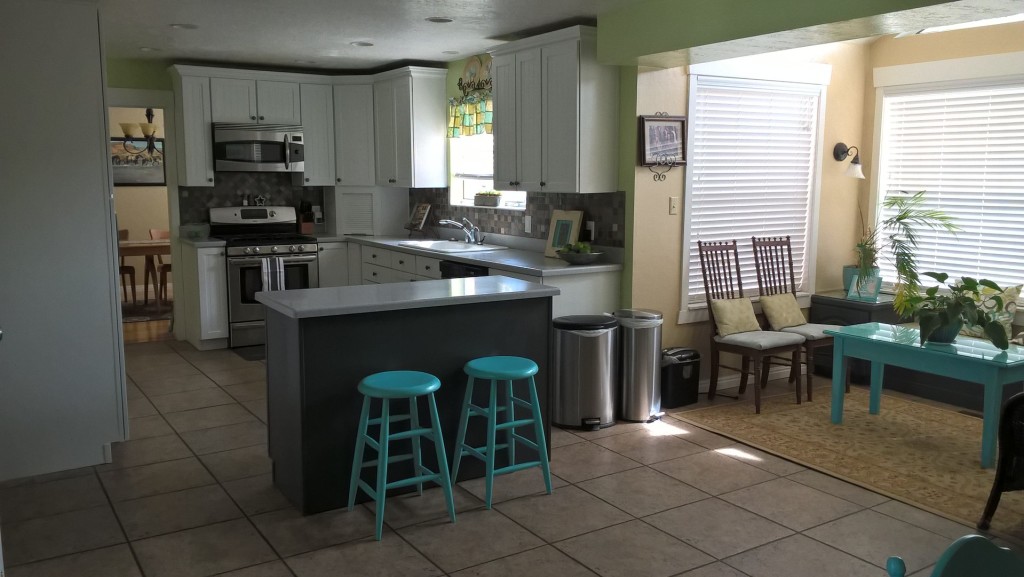
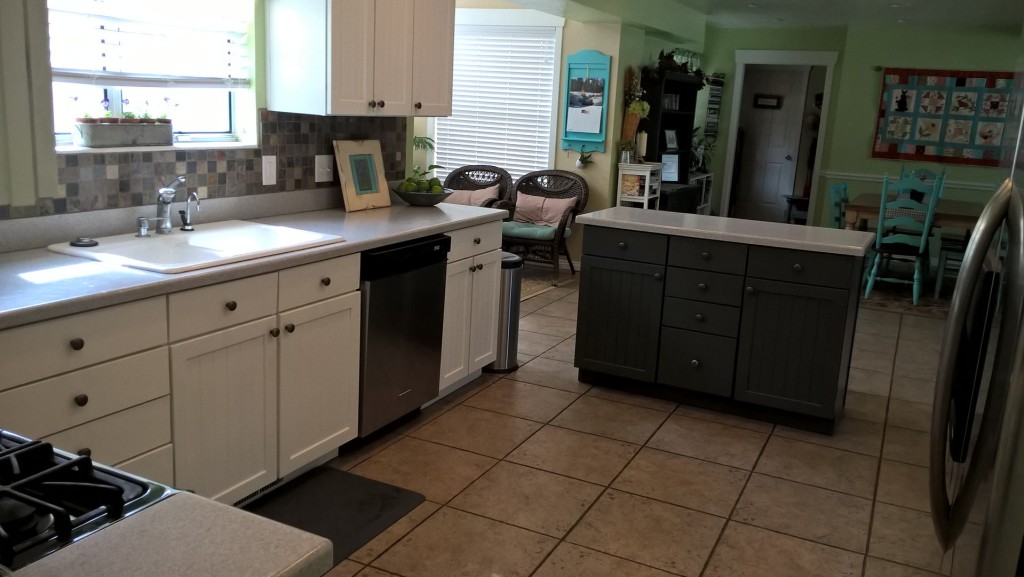 I let the doors cure for a couple of days to let the paint harden, then I replaced the hinges and hung the doors. Refer to the map you drew and match up the numbers. As mentioned in the previous step, I then lightly sanded the fronts of the cabinets, wiped down, then painted a final coat to the outside of the cupboard doors. I waited several days for the paint to cure, then I replaced the knobs.
And there you have it!
All in all, I took longer than I thought it would and was hard work. But in the end, it was worth it. It took me a full week (I took Sunday off) of about 8 hours each day. Since I am a busy mom and business owner, I was often painting until after midnight. You could spread it out over a couple of weeks, but I just wanted to push through it and get my kitchen back. Overall, I am very glad I did it. It has been about 7 months, and the paint is holding up great. The cabinets still look as good as when I first painted them.
